Friday, May 13, 2011

Didn't work out the way I thought...

Do you ever have one of those projects, where you spend a lot of time planning it and figuring out kinks, and cutting out things, and once you put it all together, it is a complete an utter epic fail? That happened to me this week. The good news is, I was able to re-think the project, and make it work out, but in a slightly different way.

So, the guy in my life, J, is super-obsessed with maps. Seriously. Those of you who know him can confirm this. The good news is maps look fun framed. I've been know to exasperate this by gifting him several antique framed maps over the many, many years I've know him. Well since he spends alot of time at my house, I'm trying to incorporate him more into the decorations. He calls my house to girly, but I'd like to state, at least I have no pink walls. I could see doing a purple room....but I digress.

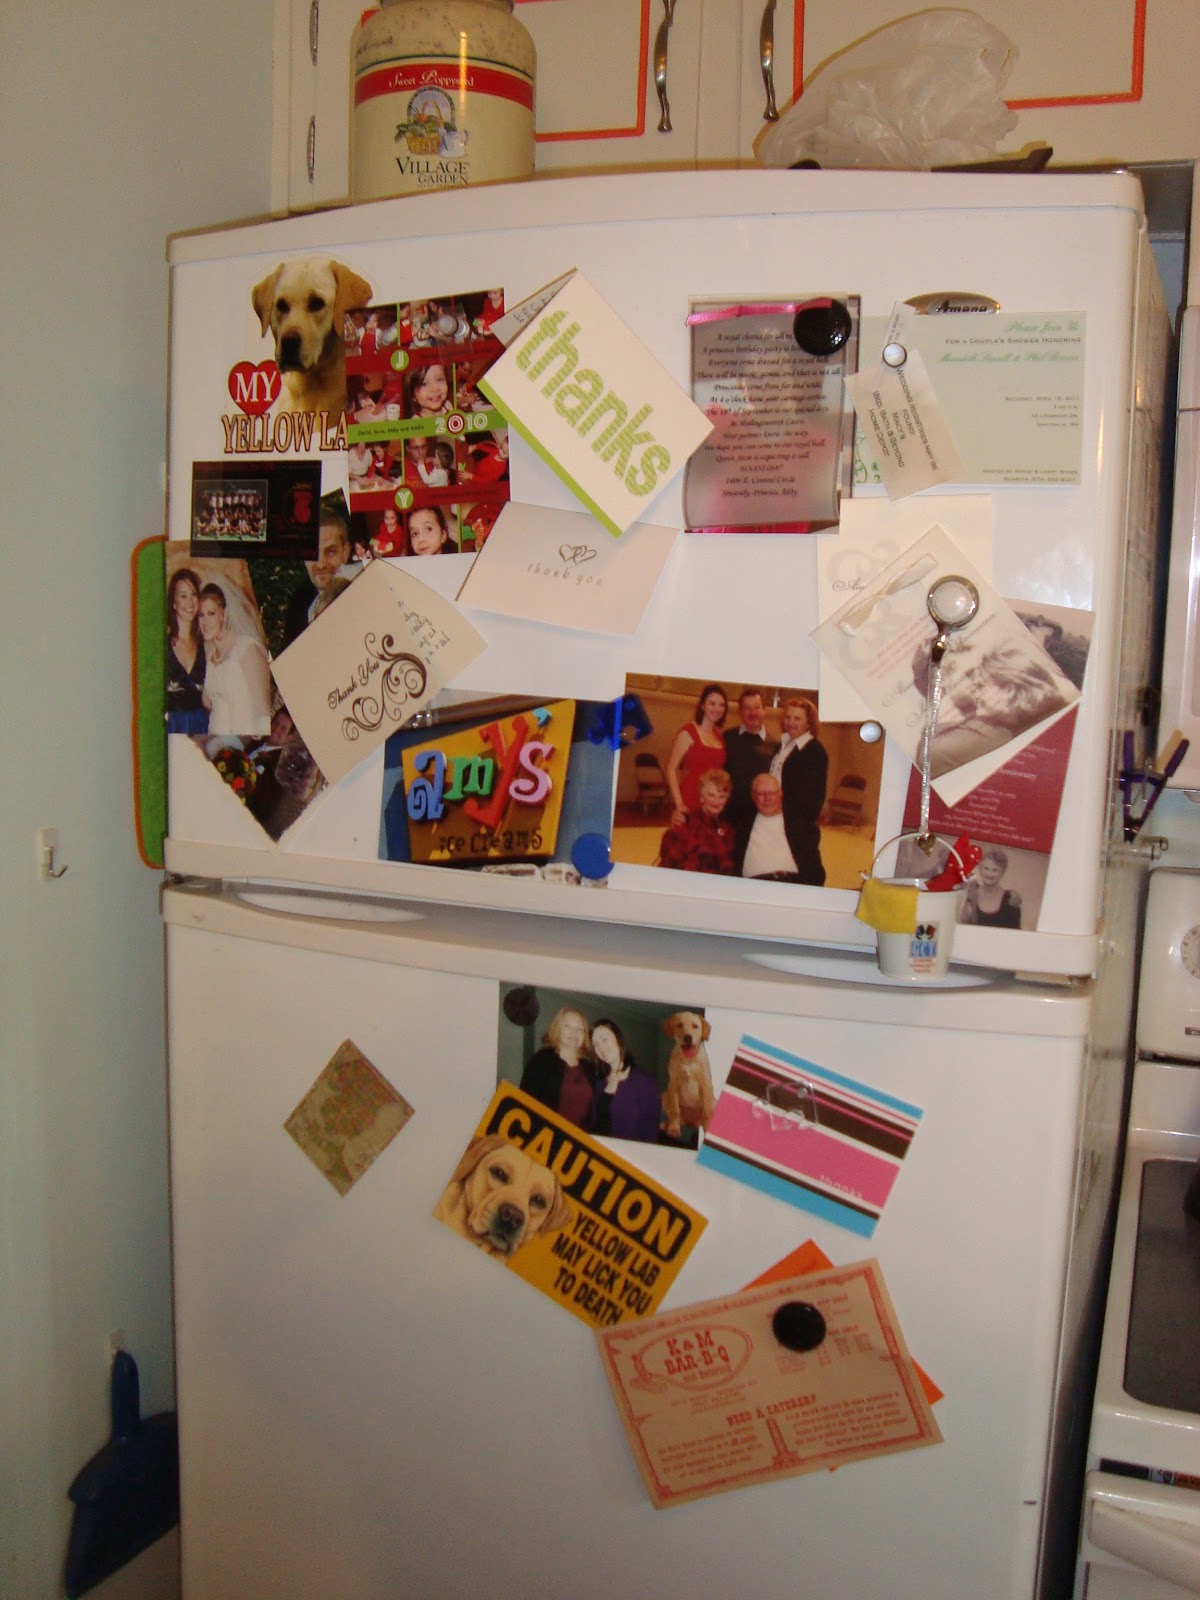
So I got really excited to do this project. You see I'd be complaining about not having any enough magnets for the fridge, for quite a while.
As you can see, yes I am that person with I <3 my yellow lab magnets. I blame my mother! Love you mom!
So, anyways, in order to incorporate J's love of maps, I got online and found copy of the 1895 World Atlas, with state breakdowns. I printed them out on cardstock (originally) and printed and cut them out. If anyone is interested in having the printable version here.
Then I thought it would be great to give them a little more depth, so I took some foam board, traced each individual map, and cut them out.
As you can see, I had a special helper, who would not leave me ALONE! He's lucky he's cute. That's all I have to say. There was something about the texture he loved. I numbered each piece with it's corresponding map and then sprayed the edges with some leftover spray paint.
Since J was taking the pictures, you also ended up with this....

Nice huh? Anyways, after doing all that, I then let them dry. The next day, I tested one map. I glued it onto it's corresponding foam board. Since I wasn't happy with the sides, I then wrapped them in very thin brown ribbon. I then sprayed the gloss protective spray over the whole piece, and it FAILED! The map didn't stick to the foam board anymore, it shriveled up, got crinkly, and I got very frustrated. I tried a few more, and gave up. I didn't even take pictures because I hated them. It was awful, so I regrouped. Fortunately, I had bought the Avery Magnet Sheets so I reprinted the maps on them. And cut them out, again. I then sprayed those with two coats of the protective gloss coat.

Let them dry and VOILA! My boring over cluttered fridge went from blah to this....
I'm sure when J finally sees them, I'll get in trouble for the states not being size-proportinate to each other, and then he'll rearrange them to some complicated system, like population of 1895, that I don't understand. But the point is, maps make him happy, and more magnets for me make me happy. So we're all happy.

Tuesday, May 10, 2011

Baggo Bags

Summer is fast approaching. With summer comes BBQs and outdoor games. One of the games everyone loves is Baggo. Don't know what Baggo is, you so need to play. Also for some reason I can't figure out, some people call it 'Cornhole' which I think is kind of creepy. Anywho...for Christmas, two of my favorite people got a Baggo set (homemade by their brother). Super cool! However, he didn't make any bean bags for them. This is where I come in.

So I began with fabric in two different colors/patterns. First I flipped the fabric inside out, and traced four 6 and a 1/2 inch squares on the fabric.
I then cut out my squares...
And ended with 8 squares. The advantage of cutting them together like this is that you get perfectly matched pieces.
Now all I have to do is sew them together. I used a straight stitch, with the stitches spaced as close as possible. I also left a hole to flip the bag right side out, and to put the beans in.
After all the sides were sewn together, I clipped the outside seams so that the bag would lay flat and have more give when it was flipped inside out.
Then you flip the bag right-side out, and voila, a perfect 6-inch bag. It is now time to fill with the beans. It took me around 2 cups of beans per bag. I rolled up a sheet of paper, and placed it in the opening to use as a funnel.
After pouring all the beans in each bag, the last thing to do was hand-sew the openings shut.
Repeat on each bag, and finally you have 8 bean-bags, in two colors, ready to be tossed in the backyard all summer. I'd say this project took me around a half-hour to do. So simple!
Hilary, Mariah I hope you enjoy them! As always, thanks for stopping by.

Monday, May 9, 2011

Bookcase Curtains

I have this wonderful bookcase in my kitchen. My Father got it for me. It has wonderful deep shelves (which come in handy when, I have 2 giant, rambunctious dogs). However, I've noticed that the bottom 2 shelves have quickly become a catchall for random kitchen items. See below....
Notice the dog head in the picture. He's one of the reasons I have clutter in the bottom shelves. If you look closely, you'll see tennis balls and dog toys on the shelf. :-) So while I like the arrangement of the top two shelves the bottom two are ick.... here is a closer look..
So I bought myself, some cute fabric and some tension rods, and went to work. I picked a fabric that is very similar to my wall color plus it has the added bonus of a print that matches decoration colors. Yay!
After measuring the shelf openings, I cut two panels, and got to work sewing. I'm assuming everyone knows how easy it is to make curtain panels so I'm not going to give detailed instructions. On the two short sides I sewed a rolled hem.
I then sewed the bottom with a wider hem.
After sewing a rod pocket at the top (I forgot to take a picture, sorry) I hung the curtains and it looks like this...

All the junk is hidden, and I'm very pleased. As always thanks for stopping by.