Friday, September 16, 2011

Pinterest Challenge: Dirty Little Secret.

I'm going to let you guys in on a secret. A dirty secret. Underneath my kitchen sink it is a scary scary wasteland. I'm not even kidding. Whenever I wanted something it was a grab and get out as quickly as possible. No lie. When I moved into my house about 2 and a 1/2 years ago, I threw all my cleaning supplies in there and called it good. I don't think I've spent more than 30 seconds in there since. I don't even know what all I have in there. Let me give you an example.
See, I told you it was scary.
Here's a close up shot!
And now you know, the scariness that is was hiding under my kitchen sink. Sometimes, I was scared it would drag me in there and keep me forever.

As you know Val issued her Pinterest Challenge, and I've been staring at this pin for a while. I mean, look how nice and pretty it is. So fresh, so clean. So I got off my butt and got to work.
Source: apartmenttherapy.com via Amy on Pinterest

 I spent 30 minutes pulling everything out of the cabinet and lining it up on the counter. The trash can got relocated along with a new recycling bin. I will tell you I didn't expect some of the things I found under there. Let me break it down for you:
  • 4 (yes 4) bottles of Febreeze Air Freshner
  • Tick spray for the dogs
  • Insect Repellent
  • All purpose cleaner with bleach
  • 2 bottles of Fantastic Multi-Surface Cleaner
  • Mr. Clean Multi-Surface Cleaner
  • Yard Guard Mosquito Fogger
  • Windex
  • Soft Scrub
  • Cerama Brite
  • Disinfecting Wipes
  • Mop Head
  • Dishwasher Detergent
  • Carpet Stain Remover
  • Febreeze (the regular kind)
  • 5 sponges
  • Finish Dishwasher cleaner
  • Swiffer Refills
  • 3 rolls of trashbags
  • Charcoal Lighter Fluid
  • Plastic Grocery Sacks
  • Brown Paper Bags
  • 6 rolls of Paper Towels
  • Wet Swiffer Wipes
  • One Rubber Glove
Who knew all that fit under there? Who only has one rubber glove? Where did the other one go? Did it get in a fight with the left glove and leave? Who knows...
 Anyways after about 30 minutes (ONLY 30) installing my new tension rod and organizing, now, it looks amazing under my kitchen sink. Well as amazing as an under the kitchen sink cabinet can get. Let me show you the after shot.....
Isn't it amazing...I could stare at it for all of 5 minutes, before getting bored. But I like that everything has it's place and is much much more accessible.

Let me give you a price break down...

Tension Rod @ Target   $6.84
Large Basket @ Target  $4.99
My Time (30 mins)         $0.00  
Total                              $11.83 (not to shabby)

As I'm working on more Pinterest Challenge projects, I'll be sure to keep you updated.

Monday, September 12, 2011

Pinterest Challenge -- ACCEPTED!

Do you all know my good friend, Val, the Sassy Housewife? You don't! Then find the time to pop over and visit. Oh, wait, what's that.....Val, you're my only follower? DAMN! Do you know yourself...that's silly, of course you do. Come on people, hit the "Follow" button. It isn't hard. Plus it means you'll get a semi-regular dose of ME and who doesn't like that.

Alright, let me start over. Hey Val, you know that PINTEREST CHALLENGE you issued, I ACCEPT. Little did you know, that I've already got a bunch of stuff in the works, and I'm going to BLOW YOUR MIND. Or at least make you squeal with delight, or maybe just make you say "that's cute." I don't know, but I can only hope it is the first option.

If you don't know about Pinterest yet, I like to call it crack for organized people. If you want you can come follow my boards, and get some ideas. And if you want to play along, be sure to visit Val and let her know.

Let me show you some of the ideas I've been working on/have scheduled for around the Castle Casa.

Source: apartmenttherapy.com via Amy on Pinterest
Source: bhg.com via Amy on Pinterest
Source: shannonberrey.com via Amy on Pinterest
Source: bhg.com via Amy on Pinterest
Source: alwayschasinglife.blogspot.com via Amy on Pinterest
 I've also got one more project in the works inspired from Pinterest, but it's for a certain pregnant momma, and I don't really want to spoil it for her.

I look forward to showing you my projects as they get completed, but I'm really looking forward to them just being done. :-)

Magnet x2

Remember this post, where I was all excited for new magnets. Well they didn't work. They were to flimsy to hold anything up and keep flaking off of the fridge. So it's time to give magnets another go. This time, I think I won.

Remember, how I told you I went to an island for Labor Day? Yes, I'm going to keep rubbing it in. Our beach is pretty rocky, but it's all pretty rocks. (Did you see what I did there?) You can see it in the photo of Hemingway below.

You can also see a super happy sun-dog in the picture. Here's another picture, it's my attempt to be artsy.
One of my families favorite activities is to comb the rocks and pick out the coolest, neatest, prettiest color, etc and save them for later. Except after we've saved them, we never have anywhere to put them. At our cabin there's just bowls of rocks lying around. Another problem is that the rocks never look as cool without the pretty sheen the water gives them.

After picking through all the rocks on the beach, I bagged up my faves and brought them home. I then layed the rocks out on a grocery bag...
 
 I sprayed them with High Gloss Krylon Sealing Spray. It's basically clear spray paint that is super glossy. It gives the rocks that sheen I'm looking for, mimicking the water.


After waiting the hour drying time, I flipped the rocks over and gave the back side a coat as well. After waiting another hour, I brought them inside. I then got out my magnets that I'd made a trip to the craft store for, and my hot glue gun.
After gluing the magnets on the back of all the rocks, I let them cure for about an hour.
And then, I put them on the fridge. And they rock my world. (Haha, get it?) They're awesome.

I even had some extra's so I made myself a smile face. :-)


Friday, September 9, 2011

Dark Chocolate Fudge Cupcake with Fresh Raspberry Buttercream Icinig

Don't worry, you read the title right. And trust me, they were as good as they sound. While I was on the island (read about that here) my Dad's cousin had an art show. The people on my dad's side of the family are incredibly talented artists, and Sally is fantastic. She works primarily in water colors, but occasionally dabbles in other mediums.

In preparation for the event, Sally had mentioned to my Mom that she had to supply finger foods along with the other featured artists. So then, my mother turned to me. And that is where the Dark Chocolate Fudge Cupcake with Fresh Raspberry Buttercream Icing comes in.

I made 80 of these delicious mini-cupcakes. And I was proud of them. Why was I proud you ask? Well, it was the first time I'd ever ventured into the realm of making up my own icing recipe. And, it was so delicious, that I wanted to eat all 80 of this little cupcakes myself.

Want to know how to make your own? Well, I'll tell you....

First bake these in mini cupcakes. That's right. I cheated, although, this time I have an excuse. I was on an island people. Do you have any idea how EXPENSIVE groceries are on an island? A package of Oreo's is $7.00 up there. Serious!

Raspberry Butter Cream Icing

  • quart of fresh raspberries
  • 1 cup of butter, room temperature
  • 4 cups of powdered sugar
  1. First, puree your raspberries in your food process or blender. Make sure they are all well processed. 
  2. Drain your raspberry puree through a strainer to get rid of all the seeds. This can take some jiggling around, but sooner or later you'll get it all out. 
  3. Take your room temp. butter and cream it in your mixing bowl. Slowly add the seedless puree. (I wanted to know what raspberry butter tasted like, so I tried it. Pretty darn good.)
  4. Slowly add your powdered sugar, until you reach frosting consistency. 
  5. Frost cupcakes and ENJOY!
I thought long and hard about pairing this combo and in the end I was very pleased. I wanted something that would reflect the art culture, and have a good marriage of flavors. I think I succeeded. And by the way the flew off the table, I think everyone else agreed.

Thursday, September 8, 2011

Island Vacation

View from our front yard looking down onto the beach.

Do you ever just need a vacation? Believe me, I did, and I got one over the long Labor Day weekend. I loaded up the dogs and embarked on a 12 hour drive (yes 12 hours) for Madeline Island, Wisconsin. If you've never been there GO!!! I'm not joking around. I've been lucky enough to be going there as long as I can remember. In 1932 my great-grandmother bought 20 acres on Big Bay, built an authentic log cabin, and it has become the home away from home for generations since. 

I've picniked in Paris, walked the streets of Rome, explored the Greek Isles, and still this is my favorite place on Earth. Let me share some photos with you. 
The ferry boat you take over from the Mainland.

At the far end of our beach looking toward the house.

Hemingway loves the beach and swimming all day!

So does Eisenhower.

The lagoon where we go fishing. Dad's bringing in the boat.
I caught a little guy. (Northern Pike)

Sea Planes parked on the beach in town.

The dogs are forever happy when they get to go on boat rides!

My extended family usually gathers at all the cabins in the late summer, so our time there is even more precious. With some family members, that may be the only time I see them all year.

Now I know your all jealous, but the good news is, we rent out our cabin during the summer, so you too can visit. Or stay at the Inn in town, or many other rental locations. But our house is the best, just saying....

Also just another tid-bit, La Pointe, Madeline Island, was named #5 on the 10 Coolest Small Towns in America 2011 list. This is like the 5th year in a row, also we've got one of the top 10 beach bars up there too. Again, just saying....you should go.


Thursday, August 4, 2011

Ribbon Top

So today's post is just a little quickie....

I whipped up this fun little ribbon top for a sweet friend the other day. It literally took me no time at all. I first saw the idea from Sweet Verbena. She is so cute and crafty. (Check out her guest post at UCreate today, I'm totally going to try that.) The only thing I did different was use a cotton fabric and ribbon for the tie. But I thought it was cute and so did my sweet model (and that's what counts right?). If your interested in doing your own, be sure to check out the link to the tutorial.

See, I told you she was cute. The top just emphasizes it. :-)

Tuesday, August 2, 2011

Coke Cake...It's Addicting :-)

Is everyone ready to learn how to make the easiest cake...ev-ah! Serious face....this is the easiest thing you will ever do.

First, prepare your ingredients.
Yup, that's it. I promise. Just a pop (or soda as some prefer it) and a cake mix. It's really that easy. And baking it up is as easy as 1,2,3. I'll show you...
Step 1: Pour cake mix into bowl.
Step 2: Pour Coke into bowl.
Step 3: Mix.
Really that's all you do. Throw it in your pans, cupcake liners, whatever and bake it according to the normal instructions on the box. Since I was making mine for my Mother's birthday, I chose to do a 3 layer cake, so I lined my cake pans in wax paper, poured the batter in and baked it up. I then iced it pretty and served it up. I've been serving these for years now and they are always a hit. When I originally learned of this recipe I was told that it is a Weight Watchers recipe. I haven't verified that, but I know it does cut down on the calories significantly. So the bonus is, its a DIET CAKE. Never thought you'd hear the words "diet" and "cake" put together like that did you? Well I'm happy to say...that just happened. Plus you'll love all the chocolate-y goodness. You can't even taste the Coke. And it's so moist and yummy. :-)

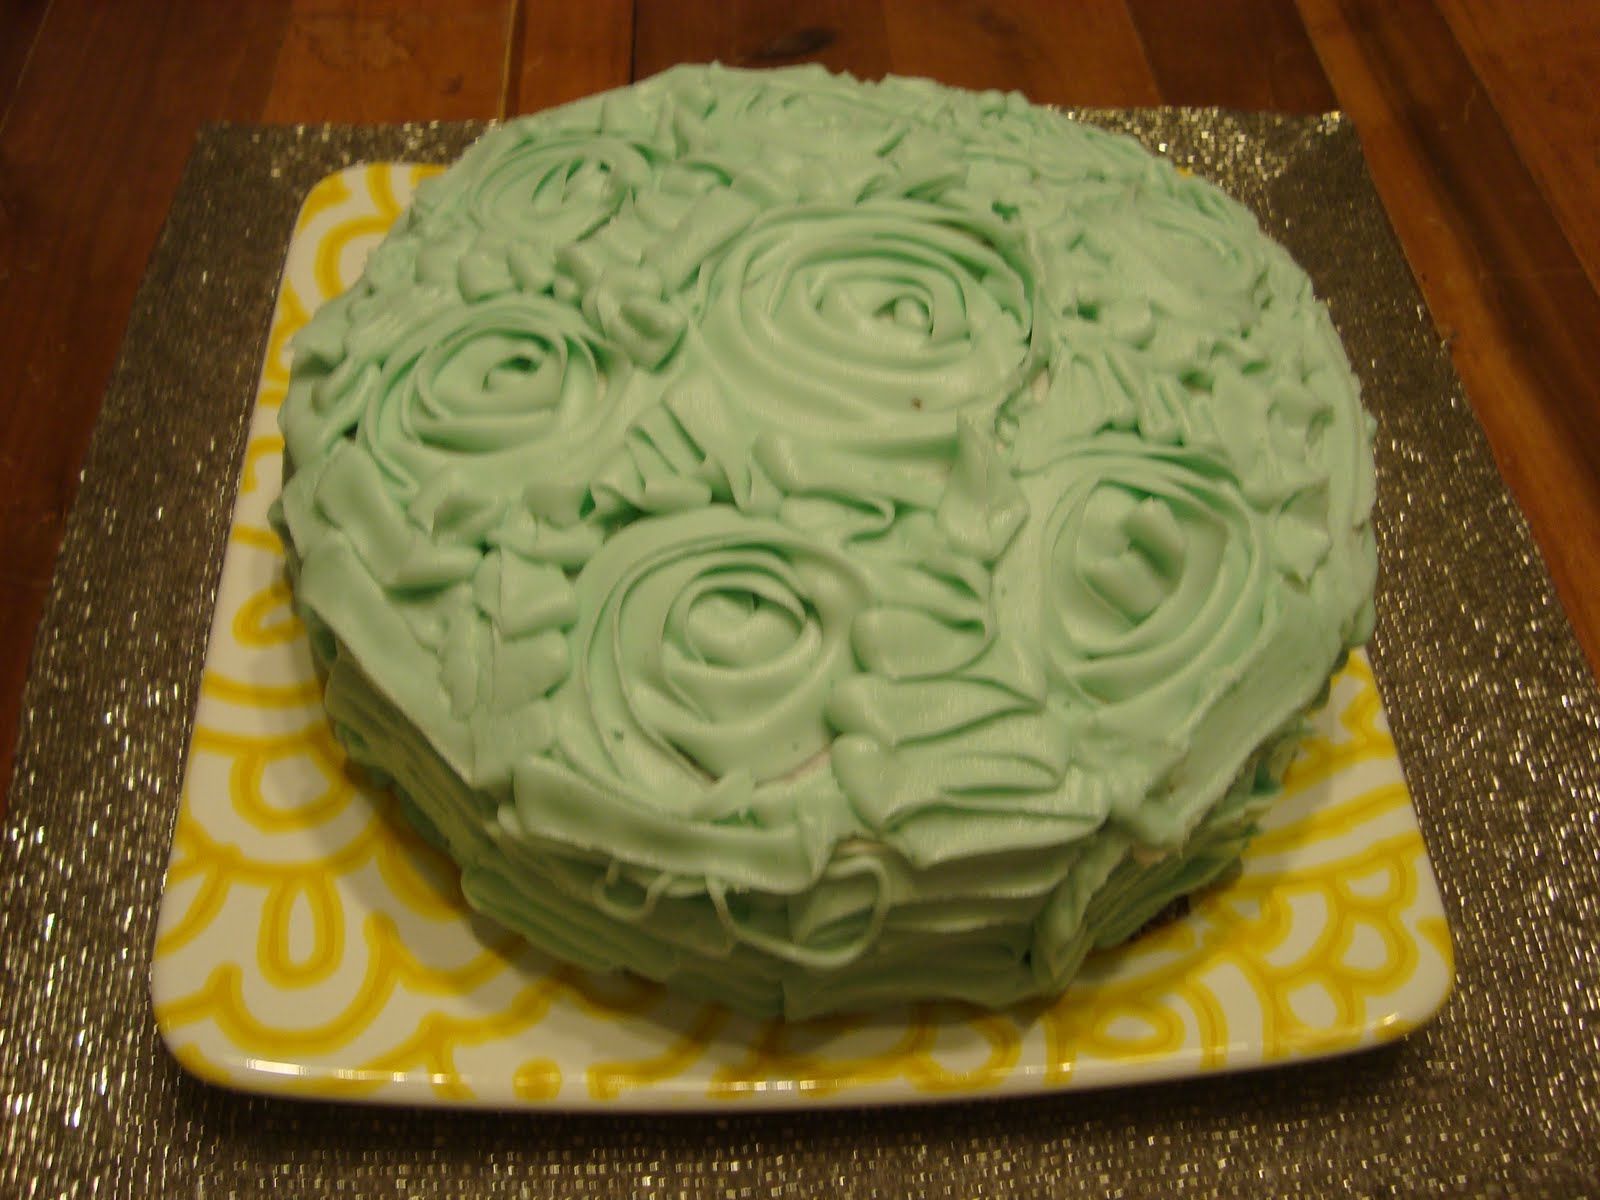
When I was icing the cake, I kind of tried to pull of the Rose Cake that has been all over the blog-o-sphere. You can find the original over at I am Baker.

When making white cakes (or lighter colored cakes) just use Sprite or 7-Up.